How to upgrade your home office lighting (without overspending)
If your eyes are tired by mid-afternoon, your lighting setup is usually the reason. Most home desks still rely on one strong ceiling bulb, and that gets uncomfortable fast.
You don’t need a studio. You need better placement and a simple layered setup. This guide focuses on practical lighting methods, with product types you can find on Amazon or any major online store.
Start with desk position before buying anything
Move your desk first if you can. It costs nothing and usually helps immediately.
- Best: window to the side of your monitor.
- Usually bad: window directly behind the monitor (glare and contrast issues).
- Bad for video calls: window behind you (your face appears underlit).
If your room layout is fixed, don’t worry. You can still get a big improvement with lamp placement.
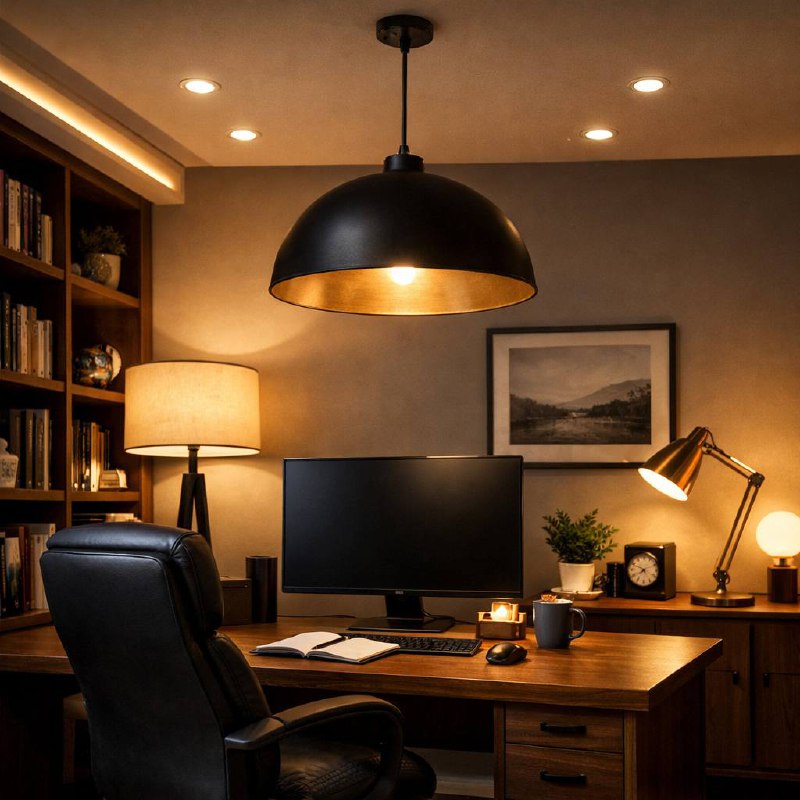
Use three lighting layers instead of one bright source
- Ambient light: soft room light to reduce eye strain from high contrast.
- Task light: focused light for keyboard, notebook, and paperwork.
- Call light: soft front light so your face looks clear on Zoom or Teams.
A basic setup often works well: one floor lamp, one adjustable desk lamp, and one small diffused USB light panel.
Use these bulb specs as your filter
- Lumens: this is brightness. For desk work, many people do well around 700-1200 lumens at the task area.
- Color temperature: 4000K-5000K feels clearer in daytime; 2700K-3500K is usually easier in the evening.
- CRI: if possible, choose 90+ for better color quality.
- Flicker: low-flicker or flicker-free options are worth prioritizing.
Quick reminder: watts don’t tell you enough. Lumens and color temperature do.
Reduce glare on monitors and glasses
- Keep bright bulbs out of your direct line of sight.
- Avoid aiming bare LEDs at your face.
- Use shades, diffusers, or bounce light off a wall.
- Position task lighting opposite your writing hand to reduce shadows.
- Lower brightness and bring the lamp closer instead of running max brightness from far away.
If you wear glasses on calls, raise the light a little above eye level and widen the angle. Small adjustments usually remove reflections.
Upgrade in stages so you don’t waste money
- Starter setup: one adjustable desk lamp and a decent bulb.
- Balanced setup: add soft background room light to reduce contrast.
- Call-ready setup: add a diffused front light for meetings and clean up cable clutter.
That’s enough for most people. You don’t need a full creator-style setup for everyday work calls.
Typical examples include dimmable LED desk lamps, clamp lights, and compact USB light panels from many brands.
Practical setups for common home office spaces
Small spare room: keep ceiling light low, use one focused task lamp, then add one soft lamp behind or beside the desk.
Bedroom corner desk: keep bright bulbs out of your side vision and switch to warmer lighting later in the day.
Video-heavy work: prioritize front fill light first, then balance your background light so camera exposure stays stable.
Mistakes that make lighting feel worse
- Using one very bright ceiling bulb as the only source.
- Mixing very warm and very cool lights in the same work zone.
- Placing a bright lamp directly behind your webcam.
- Skipping dimming control for evening work.
- Buying decorative lights before fixing task visibility.
Five-minute lighting check
- Open a white page on your monitor and check for glare patches.
- Write by hand for two minutes and check shadow direction.
- Open webcam preview and check if your face is evenly lit.
- Lower brightness by 20% and see if comfort improves.
- Save a daytime scene and an evening scene if your lights support presets.
Bottom line: better home office lighting comes from layering, placement, and control. Start simple, test for a week, then improve the part that still bothers you.
Leave a Reply