Best monitor light bar for eye strain UK: practical buying guide for real desk comfort
Affiliate disclosure: This guide includes affiliate links. If you buy through them, we may earn a commission at no extra cost to you.
If your eyes feel tired by late afternoon, your monitor is not always the main problem. In many setups, the bigger issue is poor desk lighting. You get glare bouncing off the display, harsh contrast between screen and desk, and constant refocusing that slowly drains you.
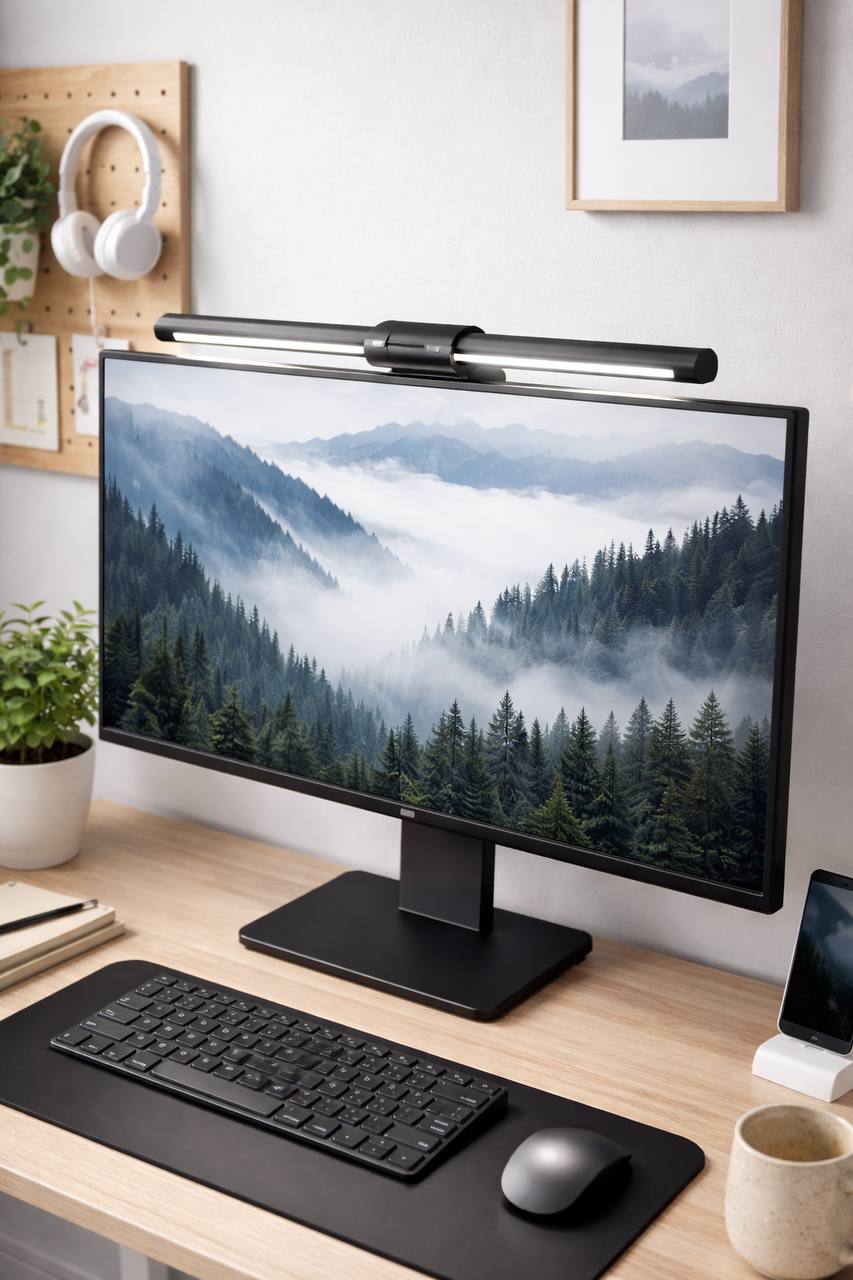
A good monitor light bar can fix a lot of that quickly. It lights your keyboard and desk surface while keeping direct light off your panel. That sounds simple, but the quality gap between bars is massive. Some bars are calm and easy on the eyes. Others look good in the listing and become annoying in a week.
This is a practical UK-focused guide to choosing the best monitor light bar for eye strain without wasting money. No brand worship, no hype, no random top-10 list with zero fit checks. Just the buying criteria that matter, the setup steps that actually improve comfort, and the mistakes that cause most returns.
You will see inline examples from common Amazon UK ranges (including screenbar-style models with remote pucks, entry-level USB bars, and premium bars with stronger optics), but the focus is category selection and setup quality, not one specific product.
Quick answer: what to buy if eye comfort is the goal
If you want the short version, pick a monitor light bar that gives you:
- Flicker-free dimming that still feels smooth at low brightness.
- Adjustable color temperature so daytime and evening comfort can be tuned separately.
- Asymmetric beam control to light the desk without bright streaks on the screen.
- Stable mount compatibility for your specific monitor edge (flat, thin, thick, or curved).
- Usable controls (remote puck or responsive touch) with memory for your preferred settings.
For most desks, a mid-range bar with strong beam control and reliable low-end dimming beats a flashy premium bar with extra features you never use.
Why eye strain gets worse with bad desk lighting
People often blame the monitor first, but three lighting patterns usually cause the bigger discomfort:
- High contrast: bright screen in a darker room with no balanced task lighting.
- Reflections: direct desk lamp angles or poor light-bar optics creating panel glare.
- Unstable dimming: bars that flicker subtly at low brightness, especially in evening use.
When these stack together, your eyes keep adapting all day. You might not notice it minute to minute, but by 4pm your focus drops, your blink rate changes, and everything feels harder than it should.
A good light bar reduces those adaptation swings. You still need sensible monitor brightness and occasional breaks, but the baseline comfort improves fast when your desk lighting stops fighting your screen.
UK category comparison: which type of monitor light bar to choose
| Light bar category | Best for | Typical UK price band | Main strength | Main trade-off |
|---|---|---|---|---|
| Basic USB light bar (manual controls) | Starter setups, casual use | ~£20–£40 | Low cost entry point | Inconsistent beam quality and low-end dimming on cheaper models |
| Adjustable light bar with color tuning | Daily desk work and mixed schedules | ~£40–£80 | Best comfort-to-price balance | Build quality varies by model |
| Remote-puck controlled bar | Frequent adjustment through the day | ~£60–£110 | Fast, practical control workflow | Extra cost for control convenience |
| Wide-beam bar for larger monitors | 32-inch+ and ultrawide displays | ~£70–£130 | Better desk coverage, fewer center hotspots | Heavier mount demands better monitor-edge compatibility |
| Premium optical-control bar | Sensitive eyes and long daily sessions | ~£110–£180+ | Smoother dimming + stronger glare handling | Higher price, diminishing returns if setup basics are poor |
For most UK buyers, the second and third categories are the sweet spot. You get meaningful comfort gains without paying for ecosystem extras that do not affect eye strain directly.
How to choose in the right order (the part most guides skip)
Don’t start with brand names. Start with fit and optical behavior. This order prevents most bad buys.
1) Check monitor-edge compatibility first
Mount quality decides everything. If the bar drifts, tilts, or sits awkwardly on your monitor, beam angle fails and glare comes back. Check whether your display edge is thin, thick, curved, or unusually shaped.
- Thin-bezel panels may need lighter clamp pressure and better balancing weight.
- Curved monitors need bars with stable center balance and secure contact points.
- Thicker rear housings need clamp designs with enough hook depth.
If mount compatibility is unclear in listing details, treat that as a risk flag, not a small detail.
2) Prioritize beam control over max brightness
Most people do not need extreme brightness. They need controlled light direction. A weaker bar with better optics is usually more comfortable than a brighter bar with poor beam shape.
Look for language about asymmetric projection or anti-glare desk-focused beams, then confirm through user photos where possible. If product photos show obvious light splash across the panel, skip it.
3) Evaluate low-brightness behavior, not only daytime performance
Night comfort is where bad bars get exposed. A model that looks fine at 80% can feel unpleasant at 20% if dimming control is poor. Since many people use bars in evening work blocks, low-end stability matters more than headline lux numbers.
Buyer-intent patterns in UK listings repeatedly highlight “flicker-free” and “stepless dimming” for exactly this reason.
4) Choose color range that supports your real schedule
One static white tone rarely works all day. Cooler light can feel sharper in daylight. Warmer light tends to be easier in evening sessions. If your room is warm-lit at night, forcing cold desk light can feel harsh quickly.
Adjustable color temperature is not a gimmick when eye comfort is your main goal. It is one of the most useful features after beam control.
5) Pick controls you will actually use
Touch controls on the bar look neat but can be annoying if you tweak settings often. Remote pucks or dial controls usually make real-world use easier, especially during calls or when your monitor is mounted high.
Also check memory behavior after power cycles. Rebuilding brightness and color settings every morning gets old fast.
6) Match bar width to screen and desk depth
Short bars on large displays often create a bright center and darker sides. Wider bars usually give more even desk illumination and fewer adaptation swings while typing and reading.
If you run a 32-inch or ultrawide monitor, this matters more than people expect.
UK pre-checklist before checkout (quick and practical)
- The listing clearly states monitor mount compatibility (flat/curved/top edge details).
- Color temperature is adjustable, not fixed-only.
- Brightness can be dimmed smoothly for evening use.
- Control method suits your workflow (touch vs remote/dial).
- Recent UK reviews mention comfort and glare outcomes, not only “arrived quickly” comments.
- Return terms are clear enough for a real desk trial.
If you cannot confirm at least five of these, keep browsing.
10-minute setup routine to reduce eye strain properly
Even a good bar can feel wrong if setup is rushed. Use this sequence after installation:
- Mount centered above the screen. Keep the bar level to avoid side hotspots.
- Start at lower brightness than you expect. Comfort usually improves when you avoid over-lighting.
- Aim for desk illumination, not panel illumination. Open a dark screen and check for visible streaks.
- Set daytime profile first. Neutral to cooler tone, moderate brightness.
- Set evening profile second. Warmer tone, lower brightness.
- Add soft ambient room light. Do not run monitor + light bar as the only sources in a dark room.
- Recheck after one full work block. Tweak in small steps, not large jumps.
This routine solves more discomfort than buying another accessory.
Practical comfort profiles you can copy
Profile A: daytime focus work
- Color: neutral to cool.
- Brightness: low-medium to medium.
- Ambient room light: moderate fill.
- Best for: writing, admin, spreadsheets, coding.
If text feels crisp but your eyes dry out, reduce brightness before changing color temperature.
Profile B: evening deep work
- Color: warm to neutral-warm.
- Brightness: low to low-medium.
- Ambient room light: soft and indirect.
- Best for: reading, planning, long focused sessions at night.
If your monitor suddenly feels too bright with warmer desk light, reduce monitor brightness slightly and retest after ten minutes.
Profile C: meeting-heavy days
- Color: neutral.
- Brightness: medium.
- Ambient room light: soft front/side fill for webcam balance.
- Best for: Zoom/Teams blocks and presentation-heavy schedules.
Remember: monitor light bars are task lights, not face lights. For camera quality, add a gentle front source if needed.
Pros and cons of monitor light bars for eye strain
Pros
- Reduces desk-to-screen contrast when set correctly.
- Uses almost no desk surface compared with traditional lamps.
- Can reduce reflection risk when optics are decent.
- Simple to install and easy to tune over time.
- Usually improves keyboard and note visibility immediately.
Cons
- Cheap models can flicker or dim poorly at low levels.
- Mount compatibility can be inconsistent across monitor shapes.
- A light bar alone does not replace balanced ambient room lighting.
- Wrong color/brightness settings can still cause fatigue.
- Premium models are not always worth it if setup basics are ignored.
So yes, light bars help. But the real result comes from product fit plus proper setup, not the product alone.
Common mistakes that make eye strain worse
- Running the bar at maximum brightness all day.
- Using cool white at night in a dark room.
- Ignoring reflections from glossy monitor coatings and desk surfaces.
- Buying by aesthetics and skipping mount compatibility checks.
- Using only monitor + light bar with no ambient room fill.
- Keeping monitor brightness too high while adding extra desk light.
Fixing even two of these usually gives a bigger comfort gain than jumping to a more expensive model.
When a light bar is not enough
If discomfort stays high after good setup, check the full chain: monitor distance, text scaling, screen brightness, break cadence, and room contrast. Eye strain is often a systems issue, not one accessory issue.
Light bars are usually the fastest win, but they work best as part of a broader desk-lighting setup.
UK price bands and what you actually get
- ~£20–£40: basic bars with simple controls. Fine for trying the concept, but quality can vary a lot on beam shape and low-brightness comfort.
- ~£40–£80: where value is strongest for most desks. You usually get adjustable color temperature, better mounting, and much better day-to-evening usability.
- ~£80–£130: better optics, smoother dimming, and stronger build quality. Good zone for long daily usage if your eyes are sensitive.
- ~£130+: premium bars with tighter quality control and ecosystem extras. Worth it for heavy users, but only if setup basics are already right.
If your budget is limited, spend on optical control and dimming behavior first. Fancy app controls, RGB extras, or branded packaging will not fix eye fatigue on their own.
What to expect in the first 7 days
- Day 1: mount and center, then test for reflections using a dark screen.
- Day 2: tune daytime profile for typing and reading comfort.
- Day 3: tune evening profile separately (do not reuse daytime settings).
- Day 4: adjust ambient room lighting to reduce screen-to-room contrast.
- Day 5: check webcam comfort if you are meeting-heavy.
- Day 6: re-evaluate monitor brightness and text scaling alongside lighting.
- Day 7: keep or return based on full-week comfort, not first-hour impressions.
This one-week trial approach prevents most regret buys. Eye comfort changes are cumulative, so short tests can be misleading.
FAQ: best monitor light bar for eye strain UK
Do monitor light bars actually reduce eye strain?
For many people, yes. They reduce harsh contrast between monitor and desk area, especially in darker rooms. Results are best when beam direction avoids screen reflections and brightness is set conservatively.
Is warm or cool light better for eye comfort?
Neither is universally better. Cooler tones often work during daylight focus sessions, while warmer tones tend to feel easier in evening work. Adjustable temperature is ideal so you can match time of day and room lighting.
Can a monitor light bar cause glare?
Yes, if optics are poor or setup angle is wrong. A proper bar should light your desk surface while keeping direct reflection off the panel. Mount stability and beam control are the key factors.
Are cheap monitor light bars worth trying?
They can be, especially as a starter test. Just manage expectations around low-end dimming quality, mount stability, and beam control. Mid-range models usually deliver the best balance of comfort and value.
Do I still need a desk lamp if I have a light bar?
Sometimes. For pure keyboard-and-screen work, a light bar is often enough. For paperwork, sketching, or wider desk tasks, a supplemental lamp can still help.
What brightness level should I start with?
Start lower than you think, usually low to medium. Increase only if desk details are still hard to see. Over-bright bars often create new discomfort instead of solving it.
Do light bars work on curved monitors?
Many do, but compatibility varies. Always check clamp design and user feedback specifically for curved screens. A stable fit is more important than headline features.
Should I combine a light bar with bias lighting?
Often yes. A light bar handles desk visibility, while soft background lighting behind the monitor helps reduce high contrast. Together they usually feel more comfortable during long sessions.
Final verdict
The best monitor light bar for eye strain in the UK is not the one with the loudest branding. It is the one that gives stable low-brightness control, adjustable color temperature, reliable mount fit, and a beam that stays off your screen.
If you follow the fit-first buying order and run the 10-minute setup routine, you can get a noticeable comfort upgrade without overspending. For most desks, a well-chosen mid-range bar will do the job better than a premium bar used badly.
Next step: measure your monitor edge, shortlist two models by compatibility and dimming quality, then test one properly in both daytime and evening sessions.
Leave a Reply